Mastering Bulk Uploads to Your Media Library: Images, Videos & GIFs
SchedulifyX Team · April 30, 2026
Learn how to streamline your social media workflow by bulk uploading images, videos, and GIFs to your media library. Master media management with SchedulifyX.
In the fast-paced world of digital marketing, content is being produced, consumed, and discarded at an unprecedented rate. For social media managers, agency owners, and content creators, keeping up with the demand requires more than just creativity; it demands flawless execution and supreme organization. One of the most significant bottlenecks in the content creation pipeline is the manual, one-by-one uploading of assets. Enter the ultimate time-saver: the bulk upload feature. By mastering how to bulk upload images videos gifs to your centralized media library, you can reclaim countless hours and focus on what truly matters—engaging with your audience and growing your brand.
In this comprehensive tutorial, we will explore the ins and outs of effective media management. We will guide you through the process of preparing your assets, executing flawless bulk uploads, and utilizing the advanced AI-powered tools within SchedulifyX to organize your content repository like a seasoned pro.
Table of Contents
- The Evolution of Media Management in Social Media
- What is a Media Library?
- The Power of Bulk Upload: Why You Need It
- Preparing Your Assets: Images, Videos, and GIFs
- Step-by-Step Tutorial: Bulk Uploading to SchedulifyX
- Best Practices for Advanced Media Management
- Common Mistakes to Avoid During Bulk Uploads
- How AI Enhances Your Media Library Experience
- Conclusion
The Evolution of Media Management in Social Media

To truly appreciate the value of a modern media library, we must first look back at how social media management has evolved over the past decade. In the early days of platforms like Facebook and Twitter, posting was a highly manual, reactive process. Brands would capture a photo, write a quick caption, and hit publish. Content calendars were often maintained in rudimentary spreadsheets, and the "media library" was nothing more than a chaotic "Downloads" folder on a local hard drive.
As social media matured, the volume of content required to maintain visibility skyrocketed. The introduction of highly visual platforms like Instagram, Pinterest, and eventually TikTok, shifted the focus from text-based updates to rich multimedia experiences. Suddenly, a single campaign required dozens of variations of images, short-form videos, and engaging GIFs. Managing this sheer volume of files locally became a logistical nightmare, leading to lost assets, inconsistent branding, and massive inefficiencies.
This is where cloud-based media management solutions stepped in. Platforms began offering centralized storage, but early iterations still required tedious, individual file uploads. Today, AI-powered platforms like SchedulifyX have revolutionized this process. By integrating robust bulk upload capabilities directly into the scheduling workflow, marketers can now handle thousands of assets simultaneously, complete with automated tagging, sorting, and optimization.
What is a Media Library?

At its core, a media library in the context of a social media scheduling tool is a secure, cloud-based repository where all your visual assets live. It is the single source of truth for your brand's visual identity. But a truly powerful media library is much more than just a digital storage locker; it is a dynamic workspace designed to streamline content deployment.
Key Characteristics of a Modern Media Library
- Centralized Access: Whether your team is in the same office or distributed globally, everyone has access to the exact same, up-to-date assets.
- Format Versatility: It seamlessly handles a wide array of formats, including high-resolution images, long-form and short-form videos, and animated GIFs.
- Searchability: Through metadata, tags, and AI-driven image recognition, finding the exact asset you need takes seconds, not hours.
- Integration: It connects directly to your posting calendar, allowing you to drag and drop assets directly into your scheduled posts.
When you leverage a platform like SchedulifyX, your media library becomes the beating heart of your content strategy, ensuring that every piece of media is primed and ready for publication across all your integrated social channels.
The Power of Bulk Upload: Why You Need It

If you are still uploading files one at a time, you are leaking valuable productivity. The bulk upload feature is not just a convenience; it is a strategic necessity for anyone managing social media at scale.
"Time is the most valuable asset a marketer has. Automating the repetitive tasks, like file uploads, frees up the mental bandwidth required for high-level strategy and creative ideation."
1. Massive Time Savings
Consider a standard monthly content calendar. You might have 30 static images, 15 short-form videos for Reels and TikTok, and 10 reaction GIFs for Twitter engagement. Uploading these 55 assets individually, waiting for each to process, and manually categorizing them could take upwards of two hours. With a bulk upload feature, you can drag the entire folder into your browser, click upload, and let the system do the heavy lifting in a matter of minutes.
2. Maintaining Visual Consistency
When you upload assets in bulk, you are typically working from a cohesive batch of content created for a specific campaign or theme. Processing them together ensures that you can apply uniform tags, campaign labels, and metadata across the entire batch simultaneously. This guarantees that nothing slips through the cracks and your brand's visual narrative remains consistent.
3. Enhanced Team Collaboration
In agency environments or large marketing departments, the handoff between the creative team (photographers, videographers, graphic designers) and the social media managers can be a point of friction. By allowing the creative team to perform a single bulk upload of all approved assets directly into the SchedulifyX media library, the social team can immediately begin drafting copy and scheduling posts without chasing down files via email or third-party transfer links.
Preparing Your Assets: Images, Videos, and GIFs
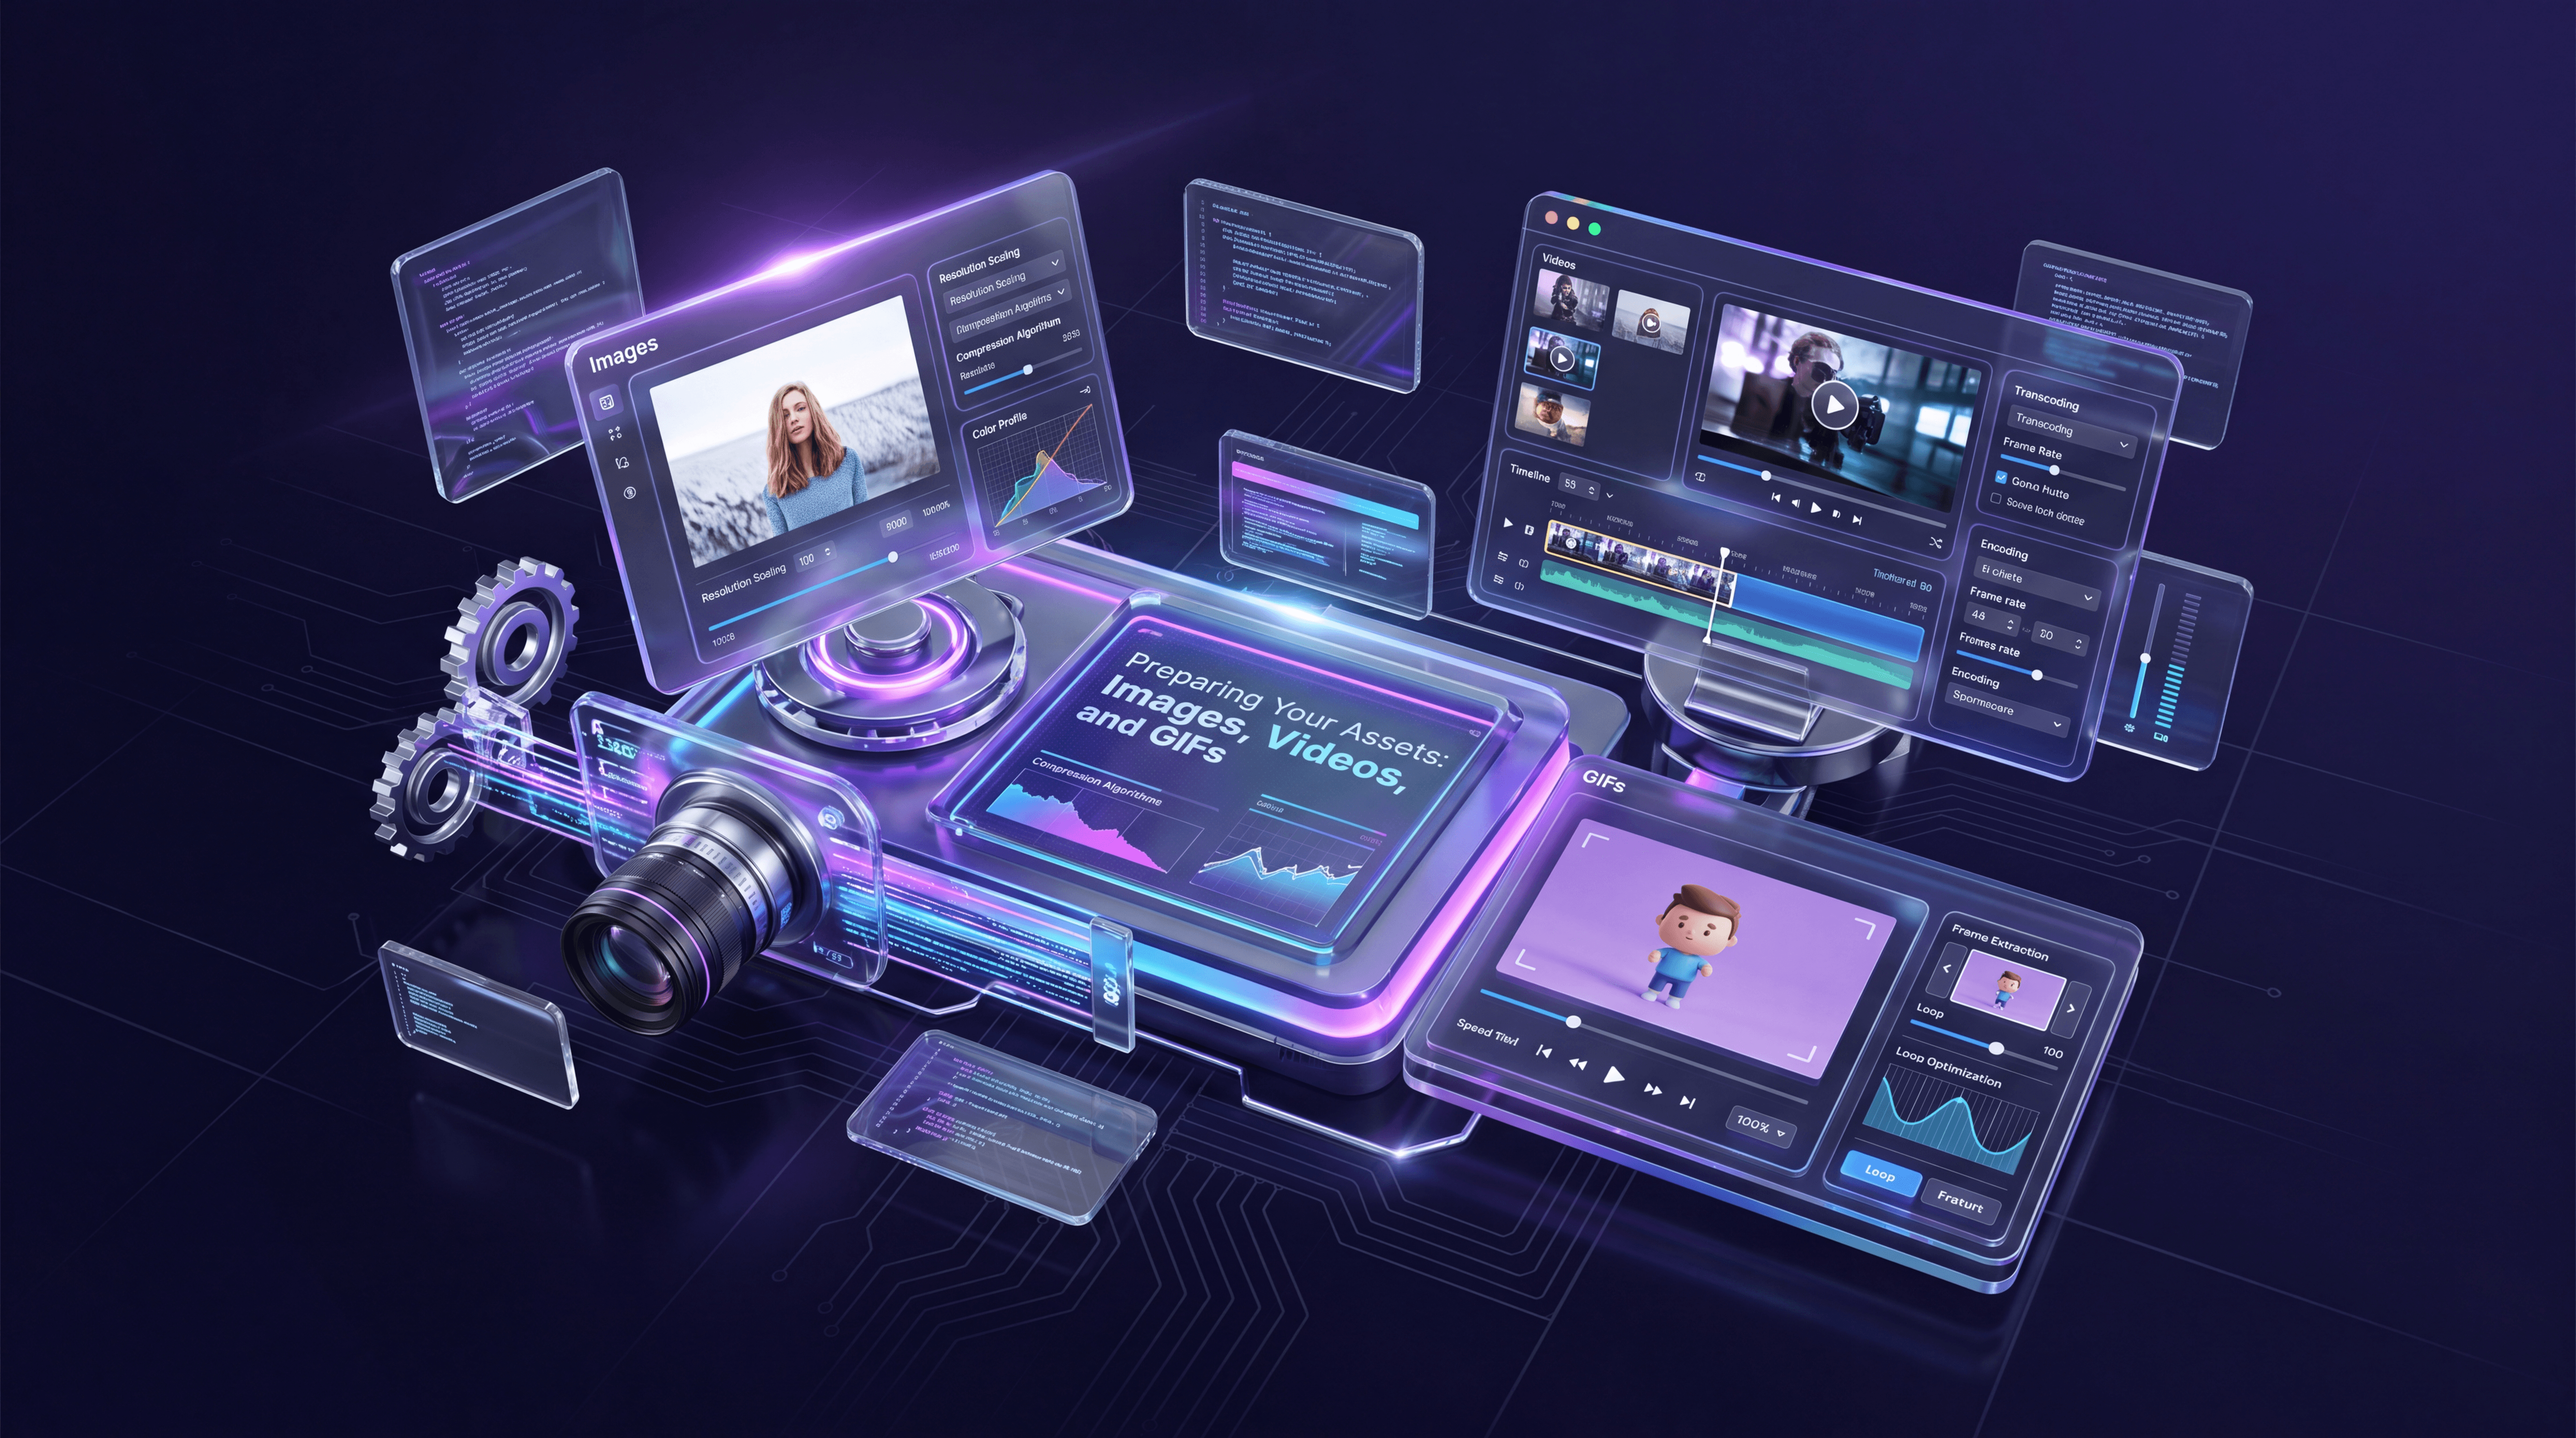
Before you initiate a bulk upload, it is crucial to ensure that your files are properly prepared. Uploading raw, unoptimized files will not only eat up your storage quota but can also lead to publishing errors down the line if the files exceed the strict limits imposed by social networks.
Optimizing Images for Bulk Upload
Images are the bread and butter of social media. When preparing a batch of photos or graphics for your media library, keep the following in mind:
- File Formats: Stick to universally accepted formats like JPEG and PNG. WebP is becoming more common, but JPEG remains the safest bet for maximum compatibility across all social networks.
- Resolution and Aspect Ratios: Pre-crop your images to the optimal aspect ratios for your target platforms (e.g., 1:1 for standard Instagram posts, 4:5 for Instagram portraits, 16:9 for Twitter/Facebook links).
- File Size: While platforms compress images upon publishing, uploading massive 20MB raw files is inefficient. Run your batch through a lossless compression tool to bring file sizes down to a manageable 2-5MB per image without sacrificing quality.
Prepping Videos for Social Media
Video content requires a bit more technical diligence before hitting the bulk upload button. Social platforms have highly specific requirements for video playback.
- Codecs and Formats: MP4 (with H.264 video codec and AAC audio codec) is the undisputed king of social media video. Ensure all your videos are exported in this format. MOV files are also widely accepted but tend to be larger.
- File Size Limits: Be aware of the maximum file sizes for your target platforms. For instance, Twitter limits videos to 512MB, while Instagram Reels can handle larger files. If your bulk upload contains massive files, you may encounter API rejections during scheduling.
- Thumbnail Generation: While SchedulifyX can auto-generate thumbnails, it is often best practice to create and upload custom cover images alongside your videos, especially for YouTube and Instagram.
Organizing GIFs for Quick Access
GIFs are incredible for adding personality, humor, and movement to your feeds, particularly on platforms like X (formerly Twitter) and LinkedIn.
- Keep it Light: GIFs can become surprisingly large files if they are long or high resolution. Aim for under 15MB for maximum compatibility.
- Looping: Ensure your GIFs are set to loop infinitely during the export process so they behave as expected when published.
Step-by-Step Tutorial: Bulk Uploading to SchedulifyX
Now that your assets are optimized and ready to go, let's walk through the exact process of executing a bulk upload in SchedulifyX. Our platform is designed to make media management as intuitive as possible.
Step 1: Gather and Organize Your Files Locally
Before opening SchedulifyX, organize your prepared files on your computer. We recommend creating a staging folder named after your current project (e.g., "Q3_Product_Launch_Assets"). Place all your optimized images videos gifs into this folder. If you have a massive amount of content, you can even create sub-folders, though a flat structure is often easier for a single bulk drag-and-drop action.
Step 2: Accessing the Media Library
Log in to your SchedulifyX dashboard. On the left-hand navigation menu, click on the Media Library icon. This will open your central repository. If you are new to the platform, this space might be empty, but it won't be for long!
Step 3: Initiating the Bulk Upload Process
In the top right corner of the Media Library interface, you will see a prominent button labeled Upload Media. Clicking this will open the upload modal. You now have two options:
- Drag and Drop: Simply open your local file explorer, select all the files within your staging folder (Ctrl+A or Cmd+A), and drag them directly into the designated drop zone in the SchedulifyX window.
- File Browser: Click the "Browse Files" link within the drop zone, navigate to your staging folder, select all files, and click "Open".
SchedulifyX will immediately begin processing the files. You will see a progress bar for the overall batch, as well as individual status indicators for each file. Thanks to our high-speed cloud infrastructure, even large batches of videos will upload swiftly.
Step 4: Tagging and Categorizing Your Media
This is where the magic of SchedulifyX's media management truly shines. Once the upload is complete, you will be prompted with a bulk action screen. Instead of editing each file individually, you can apply metadata to the entire batch at once.
- Add Tags: Type in relevant keywords (e.g., "Summer Campaign", "Product Shot", "Behind the Scenes"). These tags will be applied to every file in the batch, making them instantly searchable later.
- Assign to Folders: Select a specific folder or create a new one to house this specific batch of content.
- Set Expiration Dates: If you are uploading time-sensitive promotional material, you can set an expiration date. SchedulifyX will automatically archive these assets after the date passes, keeping your active library clutter-free.
Once you hit "Save," your massive batch of content is fully integrated into your library, perfectly organized and ready to be scheduled.
Best Practices for Advanced Media Management
Successfully executing a bulk upload is only half the battle. Long-term success requires a disciplined approach to media management. Here are the best practices employed by top-tier social media agencies.
Implement Strict Naming Conventions
While visual search and tags are incredibly helpful, a logical file naming convention is your first line of defense against chaos. Never upload files named "IMG_9845.jpg" or "Final_Video_v2_Final.mp4". Instead, establish a standardized format before you even begin the upload process.
A popular and effective structure is: Date_Campaign_Platform_AssetType.extension
Example: 20260501_SummerSale_IGReel_Video.mp4. This tells anyone looking at the file exactly what it is, when it is for, and where it goes, without even needing to preview it.
Utilize a Logical Folder Structure
Your SchedulifyX media library allows for extensive folder nesting. Don't just dump everything into the root directory. Build a hierarchy that mirrors your business structure. Common top-level folders include:
- Evergreen Content: Assets that can be posted at any time, year-round.
- Campaigns: Sub-folders for specific, time-bound marketing pushes.
- Brand Assets: Logos, standard backgrounds, and official team headshots.
- User-Generated Content (UGC): Approved photos and videos sourced from your community.
Regular Audits and Archiving
A media library is a living ecosystem. Over time, it will accumulate outdated promotional graphics, old logos, and past event photos. Schedule a quarterly media audit. Use SchedulifyX's bulk select tools to highlight outdated content and move it to an Archive folder. This keeps your active workspace fast, relevant, and visually clean.
Common Mistakes to Avoid During Bulk Uploads
Even with the best tools, human error can introduce friction into your workflow. Watch out for these common pitfalls when performing a bulk upload.
1. Ignoring Platform Specifications
It is tempting to upload a single massive 4K video file and assume the scheduling tool will handle the rest. While SchedulifyX does offer robust transcoding, relying on real-time compression can sometimes lead to quality loss or API timeouts with the social networks. Always try to upload files that are as close to the target platform's native specifications as possible.
2. Skipping the Metadata Step
When you are in a rush, it is easy to drag, drop, and immediately navigate away. Skipping the bulk tagging step is a massive mistake. A library of 5,000 untagged images is essentially useless. Take the extra 60 seconds to apply broad tags to your bulk uploads; your future self will thank you when you need to find a specific image six months later.
3. Uploading Duplicates
Without a clear process, different team members might accidentally upload the same batch of assets multiple times. This eats up storage space and creates confusion over which version is the "correct" one to use. SchedulifyX includes duplicate detection, but maintaining clear team communication regarding who is responsible for uploading which campaign assets is the best preventative measure.
How AI Enhances Your Media Library Experience
What sets SchedulifyX apart from traditional cloud storage is the layer of Artificial Intelligence woven into the fabric of our media library. AI transforms passive storage into an active assistant.
Automated Image Recognition and Tagging
Even if you forget to manually tag your bulk uploads, SchedulifyX has your back. Our AI vision models scan every image and video upon upload, automatically generating hidden descriptive tags. If you upload a batch of photos from a coffee shop shoot, the AI will tag them with terms like "coffee," "latte," "cafe," "laptop," and "morning." Later, when you search for "coffee," those images will instantly appear, regardless of their file names.
Predictive Caption Generation
Because the AI understands the contents of your media library, it can assist in the creation process. When you select an image from your library to schedule a post, SchedulifyX can analyze the visual elements and suggest highly relevant, engaging captions and hashtags tailored to the specific platform you are targeting.
Smart Cropping
When you bulk upload a high-resolution landscape image but need to use it on a vertical platform like TikTok or Instagram Stories, our AI smart cropping tool can automatically detect the most important subject in the frame (like a person's face or a product) and center the vertical crop around that focal point, saving you from manual photo editing.
Conclusion
Mastering the art of the bulk upload is a transformative step for any social media professional. By efficiently moving your images videos gifs into a centralized, intelligent repository, you eliminate the friction of manual file handling and create a streamlined, collaborative workflow.
Effective media management is the foundation upon which successful, high-volume content strategies are built. It ensures brand consistency, saves invaluable time, and empowers your team to focus on creativity rather than logistics. By following the preparation steps, organizational best practices, and utilizing the advanced features discussed in this tutorial, your media library will become your most powerful marketing asset.
Are you ready to stop wrestling with messy desktop folders and slow, individual file uploads? Experience the future of social media organization. Sign up for SchedulifyX today and let our AI-powered media library and seamless bulk upload features supercharge your content workflow!