The SchedulifyX Developer API and SDKs: an Accurate Getting-Started Guide
SchedulifyX Team · July 6, 2026
Correct package names, correct endpoints, correct limits - a from-scratch guide to the API and both SDKs.
What the API covers
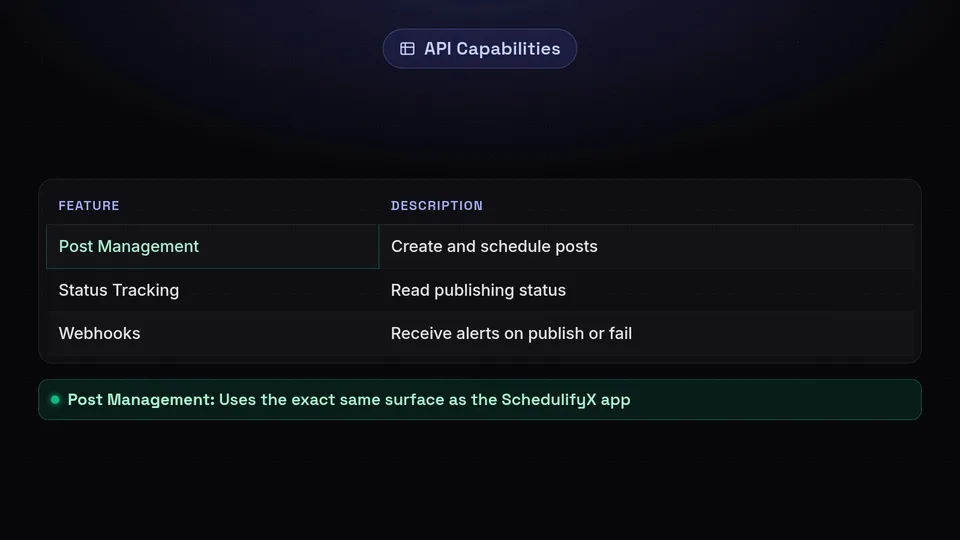
The developer API lets you create and schedule posts, read publishing status, and receive webhooks when posts publish or fail. It is the same surface the app itself uses for those operations.
Installing the SDKs

The JavaScript package is schedulifyx-sdk and the Python package is schedulifyx:
npm install schedulifyx-sdk
pip install schedulifyx
The exported JavaScript class is SchedulifyX:
import { SchedulifyX } from 'schedulifyx-sdk';
const client = new SchedulifyX({ apiKey: process.env.SCHEDULIFYX_API_KEY });
Base URL and auth
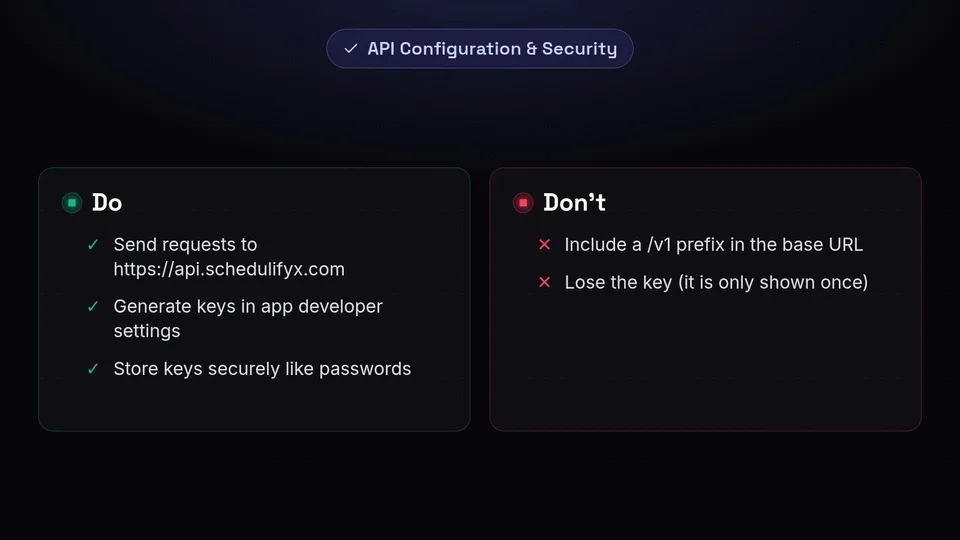
Requests go to https://api.schedulifyx.com - there is no /v1 prefix - authenticated with an API key you create in the app under the developer settings. Keys are shown once; store them like passwords.
Rate limits, stated plainly
Limits are applied per user, and they depend on your API plan - the developer tier allows 20 requests per minute and the starter tier 30. If you need more, that is an upgrade conversation, not a header trick. The API returns 429 with a retry hint when you cross the line.
Webhooks
Register a webhook URL and you will receive events when a post publishes or fails, which beats polling the status endpoint. Verify the signature on arrival - the docs in the app show the exact header.
You can try everything described here on the free plan - create an account and it is all in the left-hand menu.