Bulk Schedule 100+ Social Media Posts with CSV Upload | SchedulifyX
SchedulifyX Team · August 12, 2026
Master social media efficiency with our guide on bulk scheduling 100+ posts via CSV. Learn formatting, media handling, and troubleshooting for SchedulifyX.
Introduction to Bulk Scheduling
In the fast-paced world of digital marketing, consistency is the currency of success. However, manually posting content to multiple social media platforms every single day is not just tedious—it is a recipe for burnout. For social media managers, agency owners, and entrepreneurs, the ability to bulk schedule social media content is the difference between a reactive strategy and a proactive powerhouse.
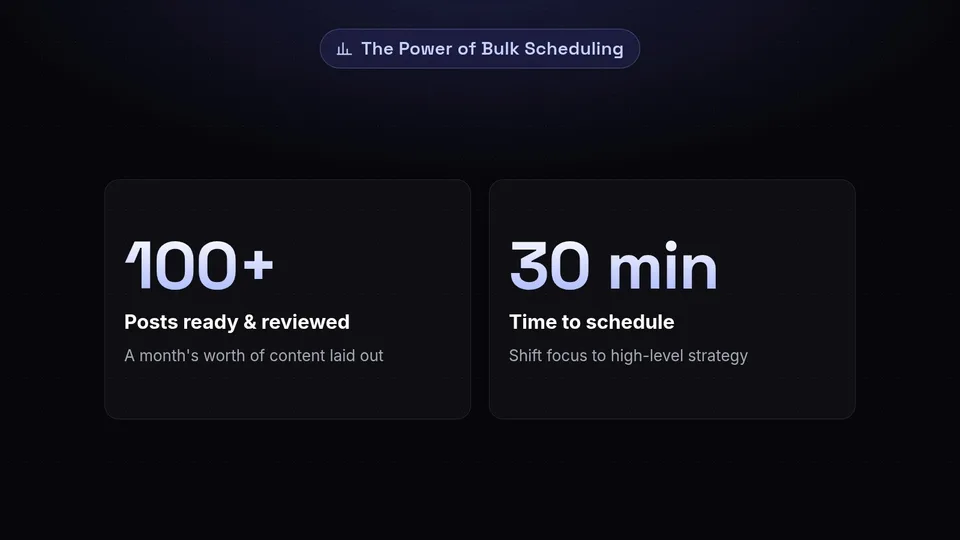
Imagine having your entire month's worth of content—over 100 posts—ready, reviewed, and scheduled in under thirty minutes. This is not a futuristic dream; it is the reality provided by SchedulifyX’s robust CSV upload feature. By leveraging mass post scheduling, you shift your focus from the repetitive task of clicking "Publish" to the high-level strategy of content creation and community engagement.
In this comprehensive tutorial, we will walk you through every nuance of using the csv upload social posts feature in SchedulifyX. Whether you are a technical wizard or a marketing creative, this guide will provide the blueprints to master batch scheduling and transform your social media workflow.
Why Batch Scheduling is a Game Changer

Before we dive into the technical "how-to," it is essential to understand the "why." Social media bulk upload is more than just a time-saver; it is a strategic advantage. When you work on posts one by one, your brain is constantly switching contexts. You move from writing a caption to choosing an image, to selecting a date, and then repeating it again. This context switching reduces cognitive efficiency.
Batch scheduling allows you to enter a "flow state." You can write 100 captions in one sitting, ensuring a consistent brand voice across all of them. You can curate 100 images in another block of time, ensuring visual harmony. By the time you are ready to use the bulk schedule social media tool, you are simply organizing data that you have already perfected.
Furthermore, bulk scheduling provides a bird’s-eye view of your content calendar. When you see 100+ posts laid out in a spreadsheet, gaps in your strategy become obvious. Are you posting too much promotional content? Is there a week where you’ve forgotten to engage your audience with questions? A CSV file makes these patterns visible in a way that a manual interface often hides.
Preparing Your CSV Template: The Basics

The foundation of successful mass post scheduling is a clean, well-formatted CSV (Comma Separated Values) file. Think of the CSV as the bridge between your creative ideas and the SchedulifyX automation engine. If the bridge is shaky, the data won't cross over correctly.
What is a CSV?
A CSV is a simple text file that stores tabular data. You can create and edit these files using Microsoft Excel, Google Sheets, or Apple Numbers. The key is to ensure that when you save the file, you select the ".csv" format rather than ".xlsx" or ".gsheet."
The Required Columns
SchedulifyX requires specific columns to understand your intent. While our platform is flexible, the standard template usually includes:
- Content: The actual text of your post (captions, hashtags, emojis).
- Date: The day you want the post to go live.
- Time: The specific hour and minute for publication.
- Media URL: A direct link to your image or video (optional but recommended).
- Social Channels: The IDs or names of the accounts where the post should appear.
Using a standardized template ensures that our social media bulk upload tool maps your data to the correct fields without manual intervention.
Advanced Formatting Rules for SchedulifyX
To avoid errors during the csv upload social posts process, you must adhere to strict formatting rules. Computers are literal; if a date is formatted incorrectly, the system won't "guess" what you meant.
Date and Time Formats
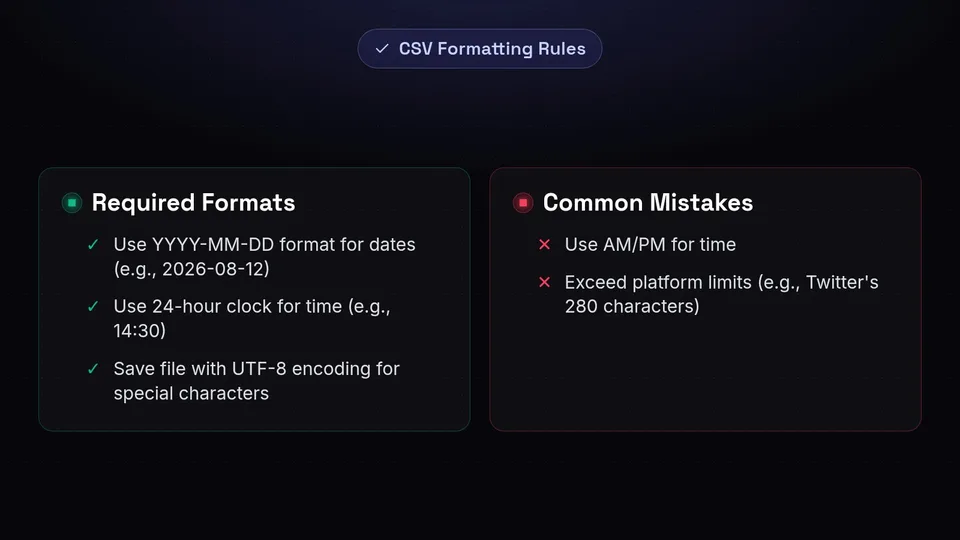
We recommend using the ISO 8601 format or a standard YYYY-MM-DD format. For example, 2026-08-12. For time, use the 24-hour clock (e.g., 14:30 for 2:30 PM) to avoid confusion between AM and PM. If you prefer a single column for both, use YYYY-MM-DD HH:MM.
Character Limits and Emojis
While SchedulifyX handles emojis perfectly, remember that different platforms have different character limits. Twitter (X) allows 280 characters, while LinkedIn and Instagram allow thousands. When batch scheduling for multiple platforms, aim for the "lowest common denominator" or create specific rows for different platforms within your CSV.
Special Characters
Ensure your CSV is saved with UTF-8 encoding. This is crucial if your captions include special characters, non-English scripts, or a heavy use of emojis. Without UTF-8, your beautiful captions might turn into a string of question marks and gibberish.
Handling Media Attachments and Public URLs
One of the biggest hurdles in bulk schedule social media workflows is the media. Since a CSV is a text file, you cannot "attach" an image file directly into a cell. Instead, you must provide a Public URL.
Where to Host Your Images?
For SchedulifyX to grab your images and videos, they must be hosted on a publicly accessible server. Common options include:
- Google Drive/Dropbox: You must ensure the link is set to "Anyone with the link can view" and use a direct download link generator.
- AWS S3 or DigitalOcean Spaces: Ideal for power users and agencies.
- Your Own Website: You can upload images to your WordPress media library and use those URLs.
- Image Hosting Services: Sites like Imgur or Cloudinary.
In your CSV, the Media URL column should look like this: https://yourwebsite.com/images/post1.jpg. If you want to post multiple images (a carousel), separate the URLs with a comma within the same cell.
Mastering Timezones and Scheduling Logic
When you are mass post scheduling for a global audience, timezones become your best friend or your worst enemy. SchedulifyX defaults to your account’s set timezone, but you can override this in the CSV if necessary.
If your account is set to EST but you are targeting an audience in London, you need to do the math before inputting the time into your spreadsheet. Alternatively, SchedulifyX offers an "Auto-Queue" feature where you simply provide the content, and our AI determines the best time to post based on your audience's historical engagement data.
Pro Tip: Always double-check your account settings in SchedulifyX before uploading. A common mistake is scheduling 100 posts for 2:00 AM because of a timezone mismatch!
Multi-Platform Targeting in One File
The true power of csv upload social posts lies in multi-platform targeting. In your CSV, you can have a column titled "Platforms." In this column, you can list the tags for your connected accounts (e.g., "FB, IG, LI, TW").
SchedulifyX’s intelligent parser will see this and clone the post across all specified networks. If you want to tailor the message—perhaps adding more hashtags for Instagram and keeping it professional for LinkedIn—you can simply create two separate rows in your CSV with the same date/time but different content and platform tags.
This level of control allows you to maintain a high volume of output without sacrificing the specific etiquette and requirements of each social network.
The Step-by-Step Upload Process
Now that your file is ready, let’s walk through the actual upload process within the SchedulifyX dashboard.
- Navigate to the Bulk Upload Section: Log in to your SchedulifyX dashboard and click on the "Bulk Schedule" icon in the sidebar.
- Upload Your File: Click the "Upload CSV" button and select your prepared file.
- Mapping Fields: Our system will show you a preview. You will need to map your CSV columns to SchedulifyX fields (e.g., Map "My Captions" to "Content").
- Review and Validate: SchedulifyX will run a quick scan to check for errors like invalid dates or unreachable media URLs.
- Finalize: Once the validation is green, click "Schedule All." Your 100+ posts are now queued!
This process usually takes less than two minutes, regardless of whether you are uploading 10 posts or 500.
Troubleshooting Common CSV Errors
Even the pros run into issues. Here are the most common errors encountered during social media bulk upload and how to fix them:
1. "Invalid Date Format"
This is usually caused by Excel changing your date format automatically. Re-highlight the date column, go to "Format Cells," and choose a custom format like YYYY-MM-DD. Always check the raw text in a notepad before uploading.
2. "Media URL Unreachable"
This happens if your image link is private or requires a login. Open the URL in an "Incognito" or "Private" browser window. If you can't see the image there, SchedulifyX can't see it either.
3. "Missing Required Fields"
Ensure that every row has at least a Content and a Date/Time. If you leave a row empty by accident, the parser might stop processing the file.
4. "File Size Too Large"
While we support large files, a CSV with 5,000+ rows might be sluggish. We recommend breaking your uploads into monthly chunks (approx. 100-300 posts) for the best performance.
Best Practices for 100+ Post Campaigns
Successfully executing batch scheduling requires more than just technical skill; it requires a strategic mindset. Here are our top tips for managing high-volume campaigns:
- The 80/20 Rule: Even when bulk scheduling, ensure 80% of your content provides value (education, entertainment, inspiration) and only 20% is promotional.
- Visual Variety: Don't use the same template for all 100 posts. Use the CSV to plan a mix of videos, single images, and text-only posts.
- Monitor Trends: Bulk scheduling doesn't mean "set it and forget it." If a major world event occurs, be prepared to pause your queue to avoid appearing tone-deaf.
- Engagement is Key: Use the time you saved via mass post scheduling to actually talk to your followers. Automation handles the publishing; you handle the community.
- Review the Preview: Always use the SchedulifyX "Calendar View" after an upload to visually confirm that everything looks correct.
Conclusion: Scale Your Presence with SchedulifyX
Mastering the bulk schedule social media workflow is a transformative milestone for any digital marketer. By moving away from manual entry and embracing the efficiency of csv upload social posts, you reclaim your most valuable asset: time.
SchedulifyX was built to handle the heavy lifting of batch scheduling, allowing you to scale your social presence across LinkedIn, Instagram, X, Facebook, and more without breaking a sweat. Whether you are managing one brand or one hundred, our platform provides the tools you need to stay consistent, professional, and ahead of the competition.
Ready to put these tips into practice? Start your free trial with SchedulifyX today and upload your first 100 posts in minutes. Your future self will thank you.